
Livestreaming Your Premiere Pro, Avid and Final Cut Pro Edit Sessions for Real-Time Collaboration
Alex Williams
• March 01, 2022
Workflow
• 9 min read


Collaboration has always been a fundamental part of all stages of the filmmaking process, and post-production is no exception. Editors working on all forms of content - from commercials and music videos to television shows and feature films - have for many decades collaborated in person with directors, producers and the rest of their creative team in edit suites and cutting rooms all over the world.
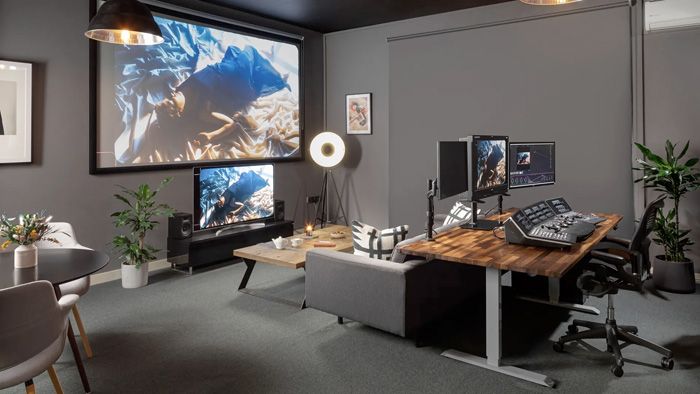
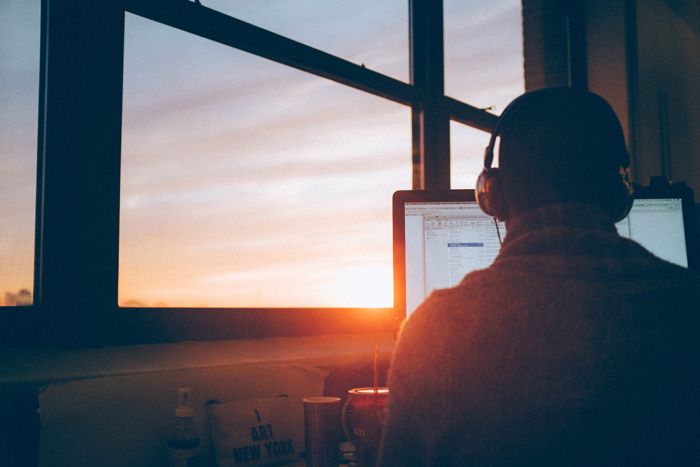
Owing to faster workstations, ubiquitous high quality internet connections and software tools that enable livestreaming, editors are now able to work from anywhere. No longer do creative teams need to physically gather in edit suites. By livestreaming their edit sessions to their team, editors can achieve the same level of collaboration as in-person working.
However, confusion still exists around how exactly to livestream edit sessions effectively and in high quality. The screen-sharing features of standard video conferencing products like Zoom and Teams are not well-suited to the requirements of the film industry, as editors who have tried to use these tools will know all too well. In an industry where incredibly high video and audio quality is of paramount importance, pixelated and stuttering streams are simply not an option.
In this blog post, we’ll demystify how high quality livestreaming works and take a look at the ways to livestream the program monitor from Avid MediaComposer, Premiere Pro and Final Cut Pro to your creative team. Contrary to popular belief, this can be done simply and affordably with minimal requirements.
How Livestreaming Works
Livestreaming involves three main components:
- Source: a source contains the video and audio content that is to be streamed. In this case, our source is our NLE’s program monitor.
- Encoder: an encoder is used to receive your source, encode it, and stream it to your destination.
- Destination: this is the platform that will receive your stream and display it to your collaborators.
In some cases, the encoder and destination will be rolled into one entity. For example, Zoom serves as both the encoder and the destination. For high quality livestreaming however, the encoder and destination are usually separate tools. A very popular encoder is OBS. Many livestream producers across various industries use the open-source software OBS to stream to Twitch, YouTube and more.
What is the Program Monitor?
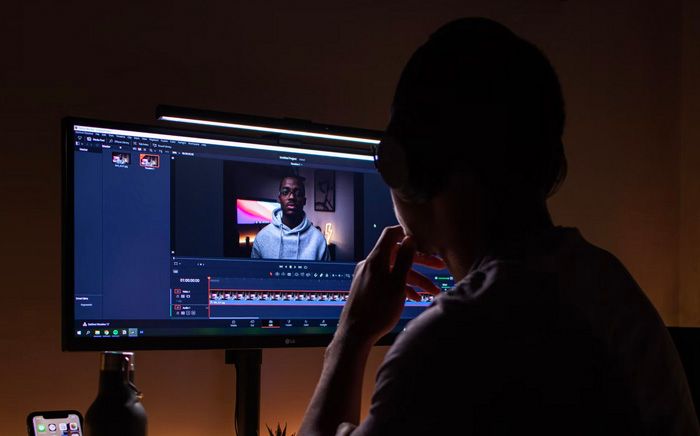
The program monitor is the clean video and audio feed showing the contents of the editing software’s timeline. It doesn’t contain any of the editing software’s user interface elements - it is, simply, the video and audio you see and hear on an editor’s workstation whilst they are editing.
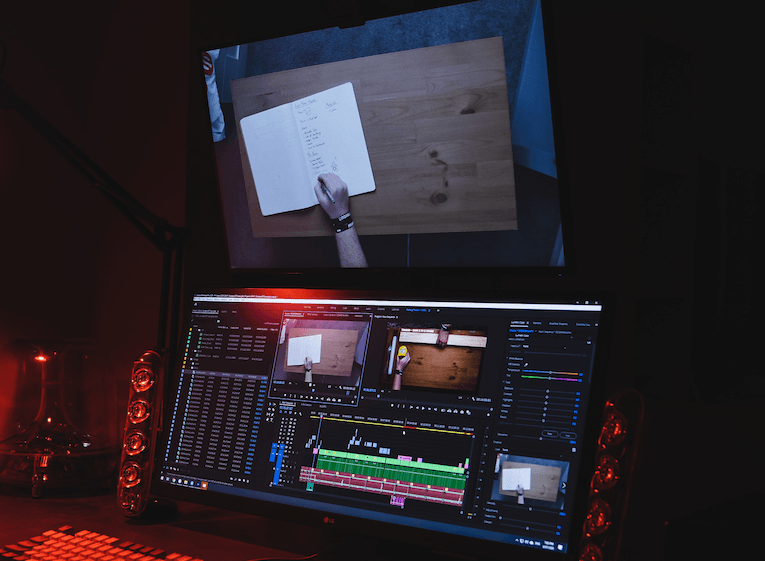
Streaming Just Your Program Monitor, or Your Whole Screen
Many editors prefer to stream just their program monitor, rather than their entire screen showing the full NLE interface. There are many benefits to this:
- It represents the environment of an most edit suites, where people are usually gathered on sofas watching a large playback monitor, away from the editor’s desk
- It allows viewers to see the program monitor in ‘fullscreen’ and focus just on the storytelling of the edit
- It prevents the feeling of the editor ‘being watched’ in an overbearing manner
However, there are cases where editors may want to share their entire screen - with directors they have a deep creative relationship with, or to get clarity on very specific feedback. In this post, we’ll be focusing on streaming just the program monitor. If you want to learn more about streaming your entire screen, check out this tutorial.
Capturing the Program Monitor From Your NLE
There are ways of achieving this using either software-only, or a combination of hardware and software:
The Software-Only Option
A popular and effective software-only solution to capture the program monitor from various NLEs is to use NewTek NDI. As per the NewTek website:
Network Device Interface (NDI) is a royalty-free software specification developed by NewTek to enable video-compatible products to communicate, deliver, and receive high-definition video over a computer network in a high-quality, low-latency manner that is frame accurate and suitable for switching in a live production environment.
Avid MediaComposer version 2018.7 and later includes NDI support by default. For Premiere Pro and Final Cut Pro users, NDI Tools is required. NewTek provides NDI Tools for free on both macOS and Windows here: https://www.ndi.tv/tools/#download-tools
In Avid MediaComposer, Premiere Pro and Final Cut Pro, you can set your program monitor (both video and audio) to be sent via NDI, in much the same way you would set your program monitor and audio to be sent out via a hardware breakout box.
Once your NLE has been configured to use NDI as a video and audio output device, you are ready to setup your workstation to stream the NDI feed to your chosen destination.
The Hardware Option
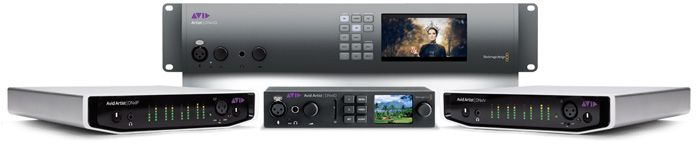
If you use a hardware breakout box, for example an AJA Io X3 or Blackmagic Ultrastudio, with your workstation to send your program monitor to one or more external monitors via HDMI or SDI, the most effective way to stream your NLE’s program monitor is to use a USB capture device.
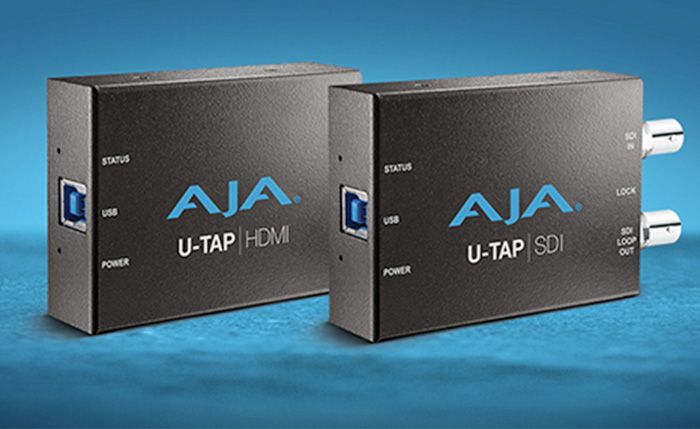
A USB capture device receives an HDMI or SDI feed and presents it to your computer as a USB video & audio source, which can be used across a multitude of apps - much like a webcam.
Popular USB capture devices include the AJA U-Tap HDMI / SDI, Blackmagic Web Presenter HD and others. Many people have had success using inexpensive, generic HDMI USB capture devices. Most USB capture devices offer wide compatibility, though it’s important to make sure that the USB capture device you choose supports your operating system and the resolution & framerate of your breakout box.
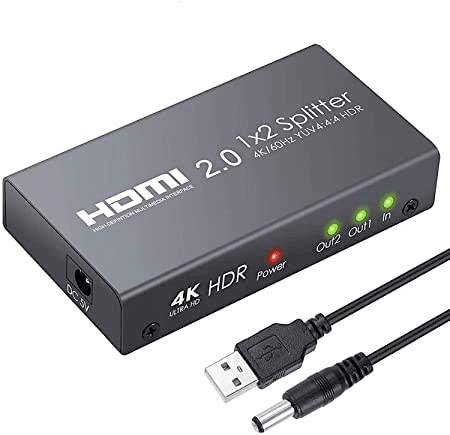
Using a Signal Splitter
Depending on what outputs your breakout box has and what inputs your USB capture device has, you may additionally need an HDMI or SDI splitter to feed both your monitor and your USB capture device at the same time. For example, if your breakout box has one HDMI output, you would need to use an HDMI splitter to run an HDMI cable from the breakout box to your splitter, and then from the splitter to a) your monitor and b) your USB capture device. Splitters are generally inexpensive and readily available for purchase.
Once you have connected the HDMI or SDI feed from your breakout box (either directly or via a splitter) to your USB capture device, and the USB capture device to your computer, you are ready to setup your workstation to stream the NDI feed to your collaborators.
Streaming the Program Monitor to a Destination
Now that we have captured the program monitor from Avid, Premiere Pro or Final Cut Pro, we can choose a destination to receive the stream which will be shown to viewers. Options include Zoom, Google Meet, FaceTime, Twitch, YouTube and others - and, of course, Louper.
Standard Video Conferencing Tools
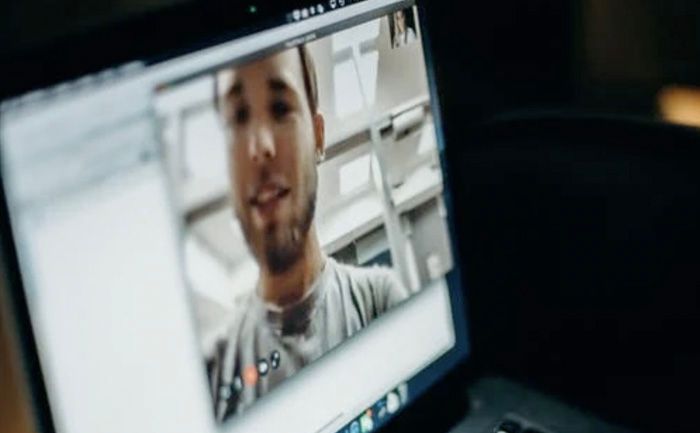
Streaming your program monitor using standard video conferencing tools like Zoom is simply a case of joining the meeting and setting your program monitor source (whether this has been captured via NDI or USB) as your camera and microphone input. Then, use another device (like an iPad) to join the meeting using that device’s camera and microphone in order to communicate with others.
However, using standard video conferencing tools to livestream high quality video and audio often leaves much to be desired. From low framerates and resolutions to poor video and audio quality, the shortcomings quickly become apparent to both editors and viewers.
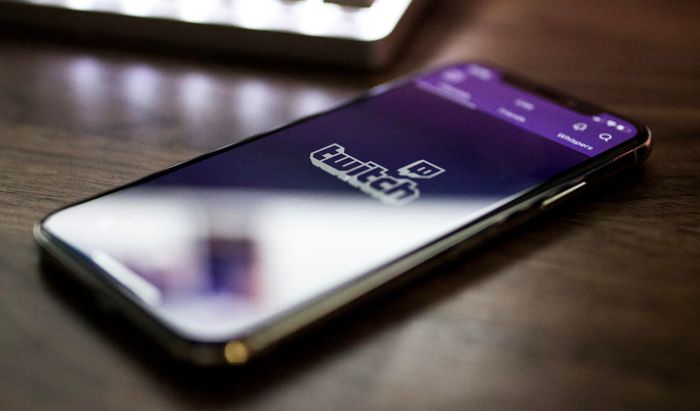
Twitch, YouTube
To stream your program monitor to your Twitch or YouTube channel, you will need to use an encoder (streaming software) such as OBS. OBS is a free and incredibly popular streaming application - it receives your source and then encodes and streams it to the destination of your choice. OBS is often mistaken as both an encoder and destination - it is not a destination. Without a destination (like Twitch), there is nowhere for OBS to send your stream to.
In OBS, you can add your NLE’s program monitor as a source (whether you have captured this via NDI or via USB). You will need to configure video and audio settings in OBS like resolution, framerate and bitrate. Finally, enter the RTMP server URL and stream key provided by Twitch or YouTube into OBS and start streaming.
Whilst you can get high quality video and audio by using Twitch or YouTube as a destination, the latency is in the region of multiple seconds, making it impractical for real-time collaboration. Security and privacy is a concern too, and you will need to use an additional video conferencing tool at the same time to be able to communicate with your collaborators. However, if your goal is to stream to a large, public audience with minimal interaction and latency is not a concern, then Twitch and YouTube are both good options.
Louper - Built for Film Professionals
Louper is a destination for your livestreams that has been built specifically for film professionals - video is high quality and smooth, audio is crisp and clean, and video conferencing is built-in.
Louper offers full control over your stream’s framerate, resolution and video and audio bitrates. The platform is secure, latency is just 1/4 of a second, and participants can join directly in the browser - meaning no downloads are required for participants.

With an elegant interface that is focused on presenting your content with zero distractions, Louper’s key features are:
- Up to 4K video streams at bitrates up to 20mbps
- 48kHz stereo audio at bitrates up to 512kbps
- Sub-second latency
- On-screen drawing
- No proprietary hardware required
- Detailed, easy-to-follow setup guides for all major NLEs
- 1-Click Join: participants can join your room directly from their browsers, requiring no downloads or plugins
- Free accounts plus cost-effective paid options
Louper allows streaming from various encoders, though we recommend streaming using LDE. LBS is our customized version of OBS and has been optimized for streaming to Louper.
There is an additional workflow benefit to using Louper over standard video conferencing tools - you can stream to your room and join your room from the same workstation, negating the need to join your room from a separate device for video chat.
What Internet Speed Do You Need?
It is a common misconception that livestreaming requires ultra fast internet connections. High quality streaming can be achieved on modest internet connections and even over mobile 4G networks. The default Louper setting of 1080p video at 2.5mbps with 160kbps stereo audio requires an upload & download connection speed of just 4mbps. That’s much lower than the US national average speed of 200mbps down, 75mbps up and the UK average of 50mbps down, 10mbps up.
The internet speed requirements are surprisingly low - but speed isn’t all the matters. Connection quality and stability is important too, which is why we recommend streamers to use a hardwired ethernet connection or a strong, reliable wifi connection that doesn’t drop out.
Some Louper users have reliably streamed long sessions from remote locations using 4G mobile connections.
Livestreaming Is Here To Stay
It’s easy to understand the strong desire that many editors, directors and producers have to continue collaborating in real-time, but without the restrictions of having to physically be in the same room together. From saving time and costs on travel and hotels to striking a healthier work-life balance and spending more time with family and friends, real-time remote collaboration is enjoying widespread adoption across all sectors of content creation.
I hope this post has demystified what’s involved in livestreaming your NLE’s program monitor and the tools that are out there to help you achieve this with minimal effort and expense.
For detailed step-by-step instructions on capturing and streaming your program monitor, check out the Louper Setup Guides. If you want to learn more about Louper and the ways in which film professionals are using Louper to achieve their creative visions, head to Louper.io and get started with a free account.
Use Louper to stream and collaborate on live shoots, edit sessions, vfx reviews and more - securely and in seriously high quality.

